Over the next while I'll be periodically sharing a series of posts on the various photographic processes I use in my photography. This will include analog processes using traditional film, digital processes using my digital cameras and phone, (sorry no iPad or tablet photography here at the lab) and some historical processes that I’m building knowledge on.
I thought I would start with one of my favorite processes, cyanotypes. Originally it was my intent to do a little cyanotype photography to develop skills on coating paper for other perhaps more highly regarded historic processes such as platinum paladium, kallitype or salted paper processes. Well, a couple of things happened on the way to the next step.
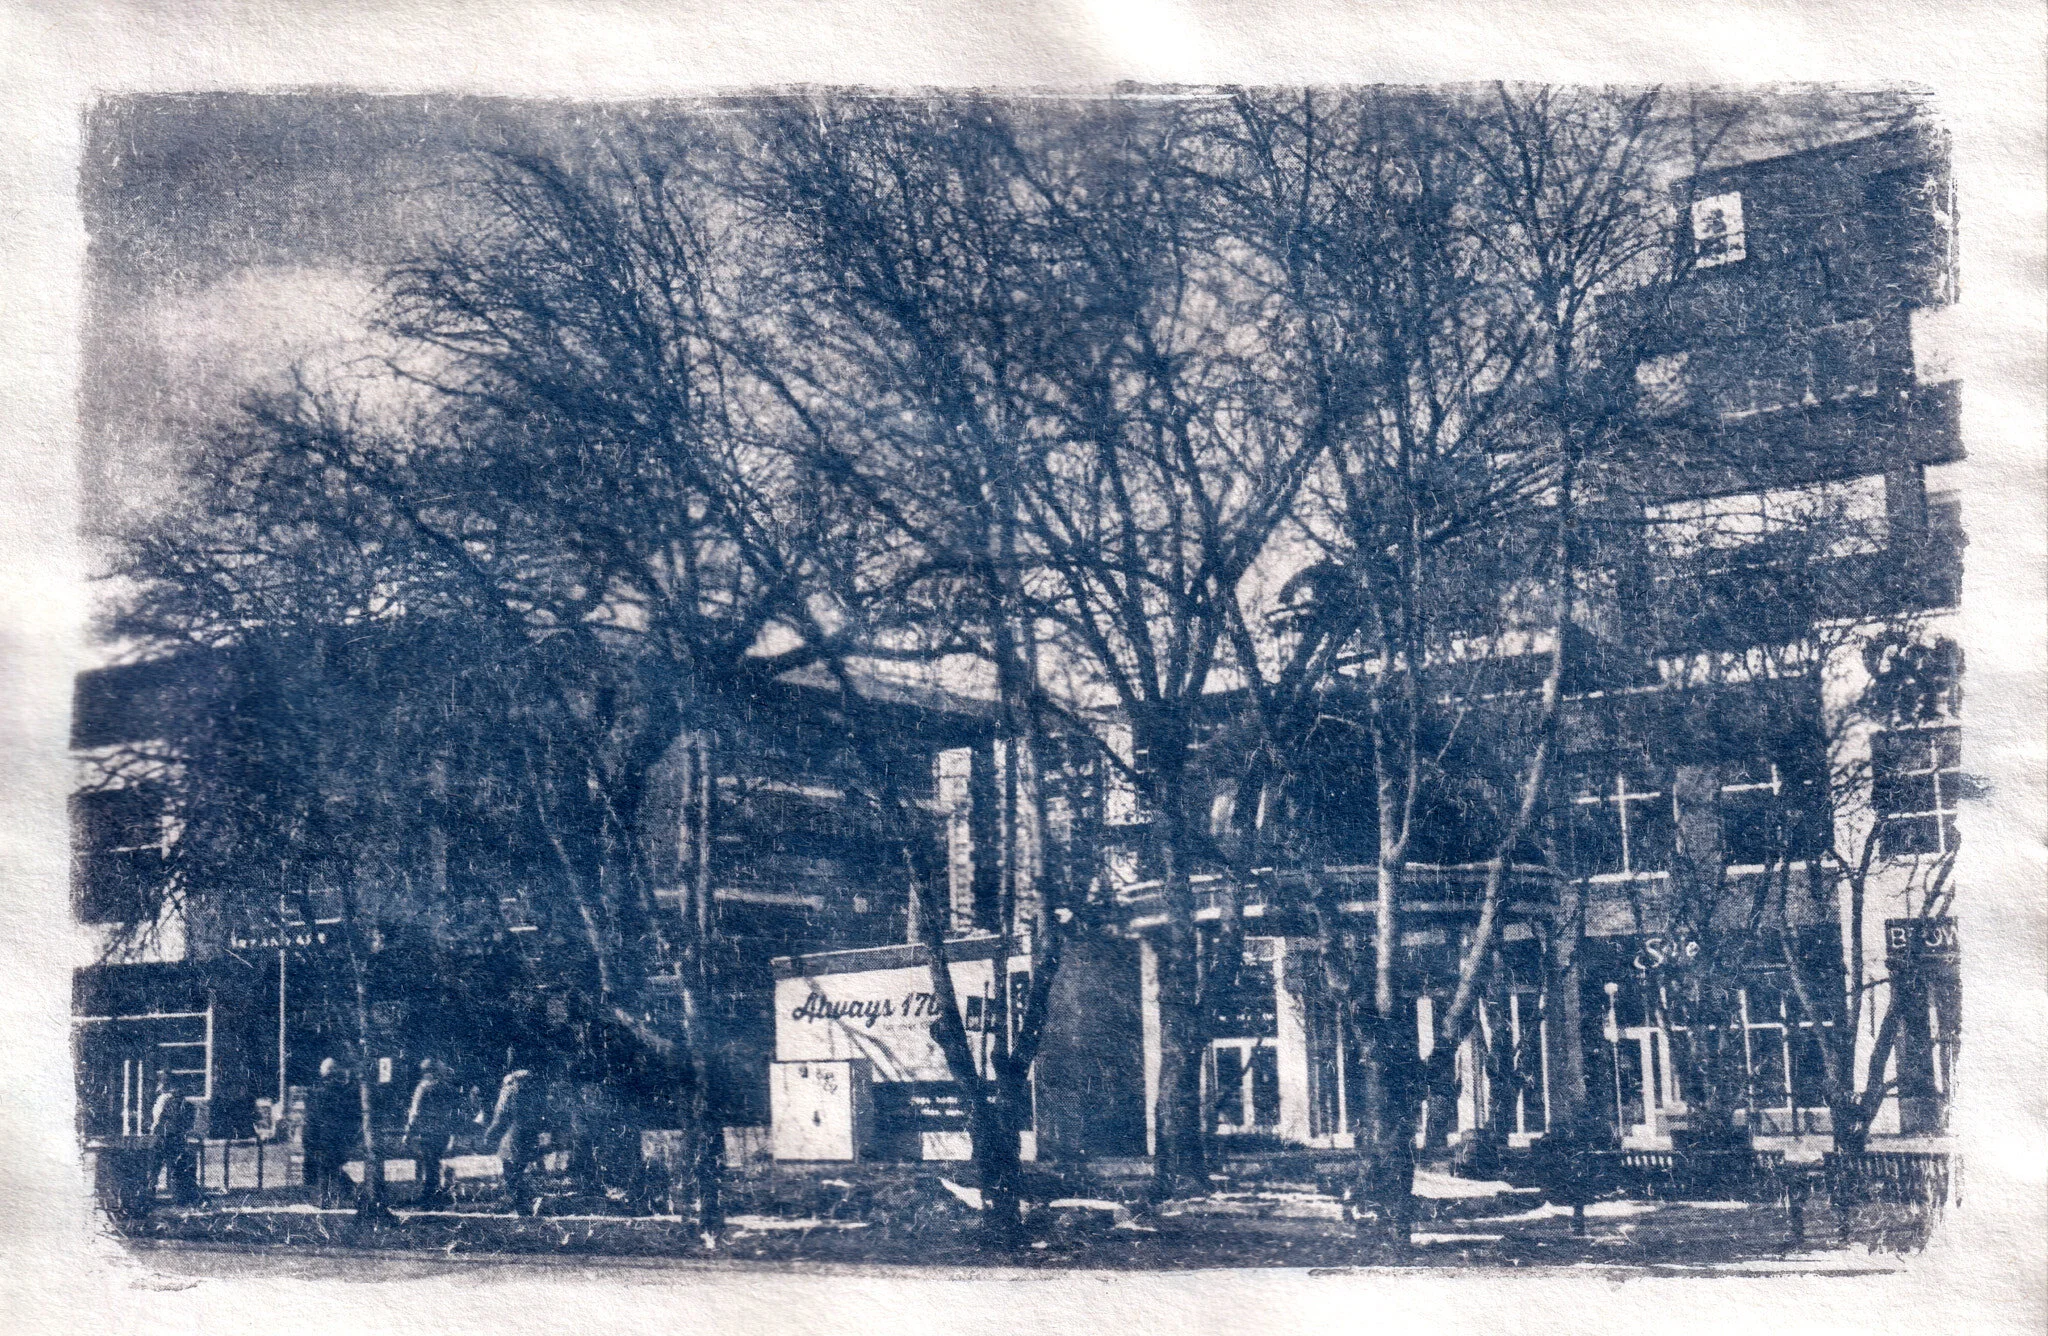
First, I really like the look of the photographs I'm making with the cyanotype process that I share below. Second, I overbought a little when I got the chemicals, so I plan on using it all up before I move to a different process!
The more expensive processes can wait a little, I'm having some fun making cyanotypes for now. The photographs below I shot on film over the last couple of weeks, I have other cyanotypes I made last fall from film shot in the giant redwood forests of Northern California. I'll share some of those in an upcoming post.
The photographs in the gallery below aren’t perfect, but that’s not the point, I will learn from these and be better next time. That’s what I like about photography, the opportunity to get better every time out.
Let us begin.
Cyanotype Process History
Sir John Herschel, who was an English scientist and astronomer, discovered the cyanotype process in 1842. He used it mainly a means of reproducing notes and diagrams as blueprints, commonly used by architects and construction companies late into the 20th century.
The first photographer to use the cyanotype process was Anna Atkins who created a series of cyanotype limited-edition books of photograms documenting ferns and other plant life from her extensive seaweed collection starting in 1843. Anna Atkins is sometimes considered the first female photographer.
My Cyanotype Process
There are lots of places that provide a more detailed process than I'll provide here, what I've included is my process that works for me, your mileage will vary. It’s important to get the look you want, not necessarily what the internet tells you that you should like.
I get my chemicals from Bostick & Sullivan (B&S) in Santa Fe New Mexico, excellent product with reasonable prices and good all-round service. Everything below refers to the solution A and B included in the B&S kit.
I bought the 500ml package of Cyanotype solution from B&S, which as it turns out makes a LOT of cyanotype prints. To get some practice and to use some of the solution up I decided to try making some prints on 4x6 notecards.
Everything I've read and watched says use at least 100lb fancy art paper. Well that gets kind of pricey, so I decided to use what I had available. If you are going to make a master display set that will be exhibited in public maybe consider using good art paper for that. My guess is that 99% of us do photography for fun and will not have big fancy exhibitions, this is a way to keep it affordable while learning the craft.
The reason for the heavier paper is so the prints hold up under the washing required to remove the unused chemicals on the paper. I've found that the light notecard stock doesn't need as much washing and as long as you don't over wash and gently place the prints on screens to dry, things are good!
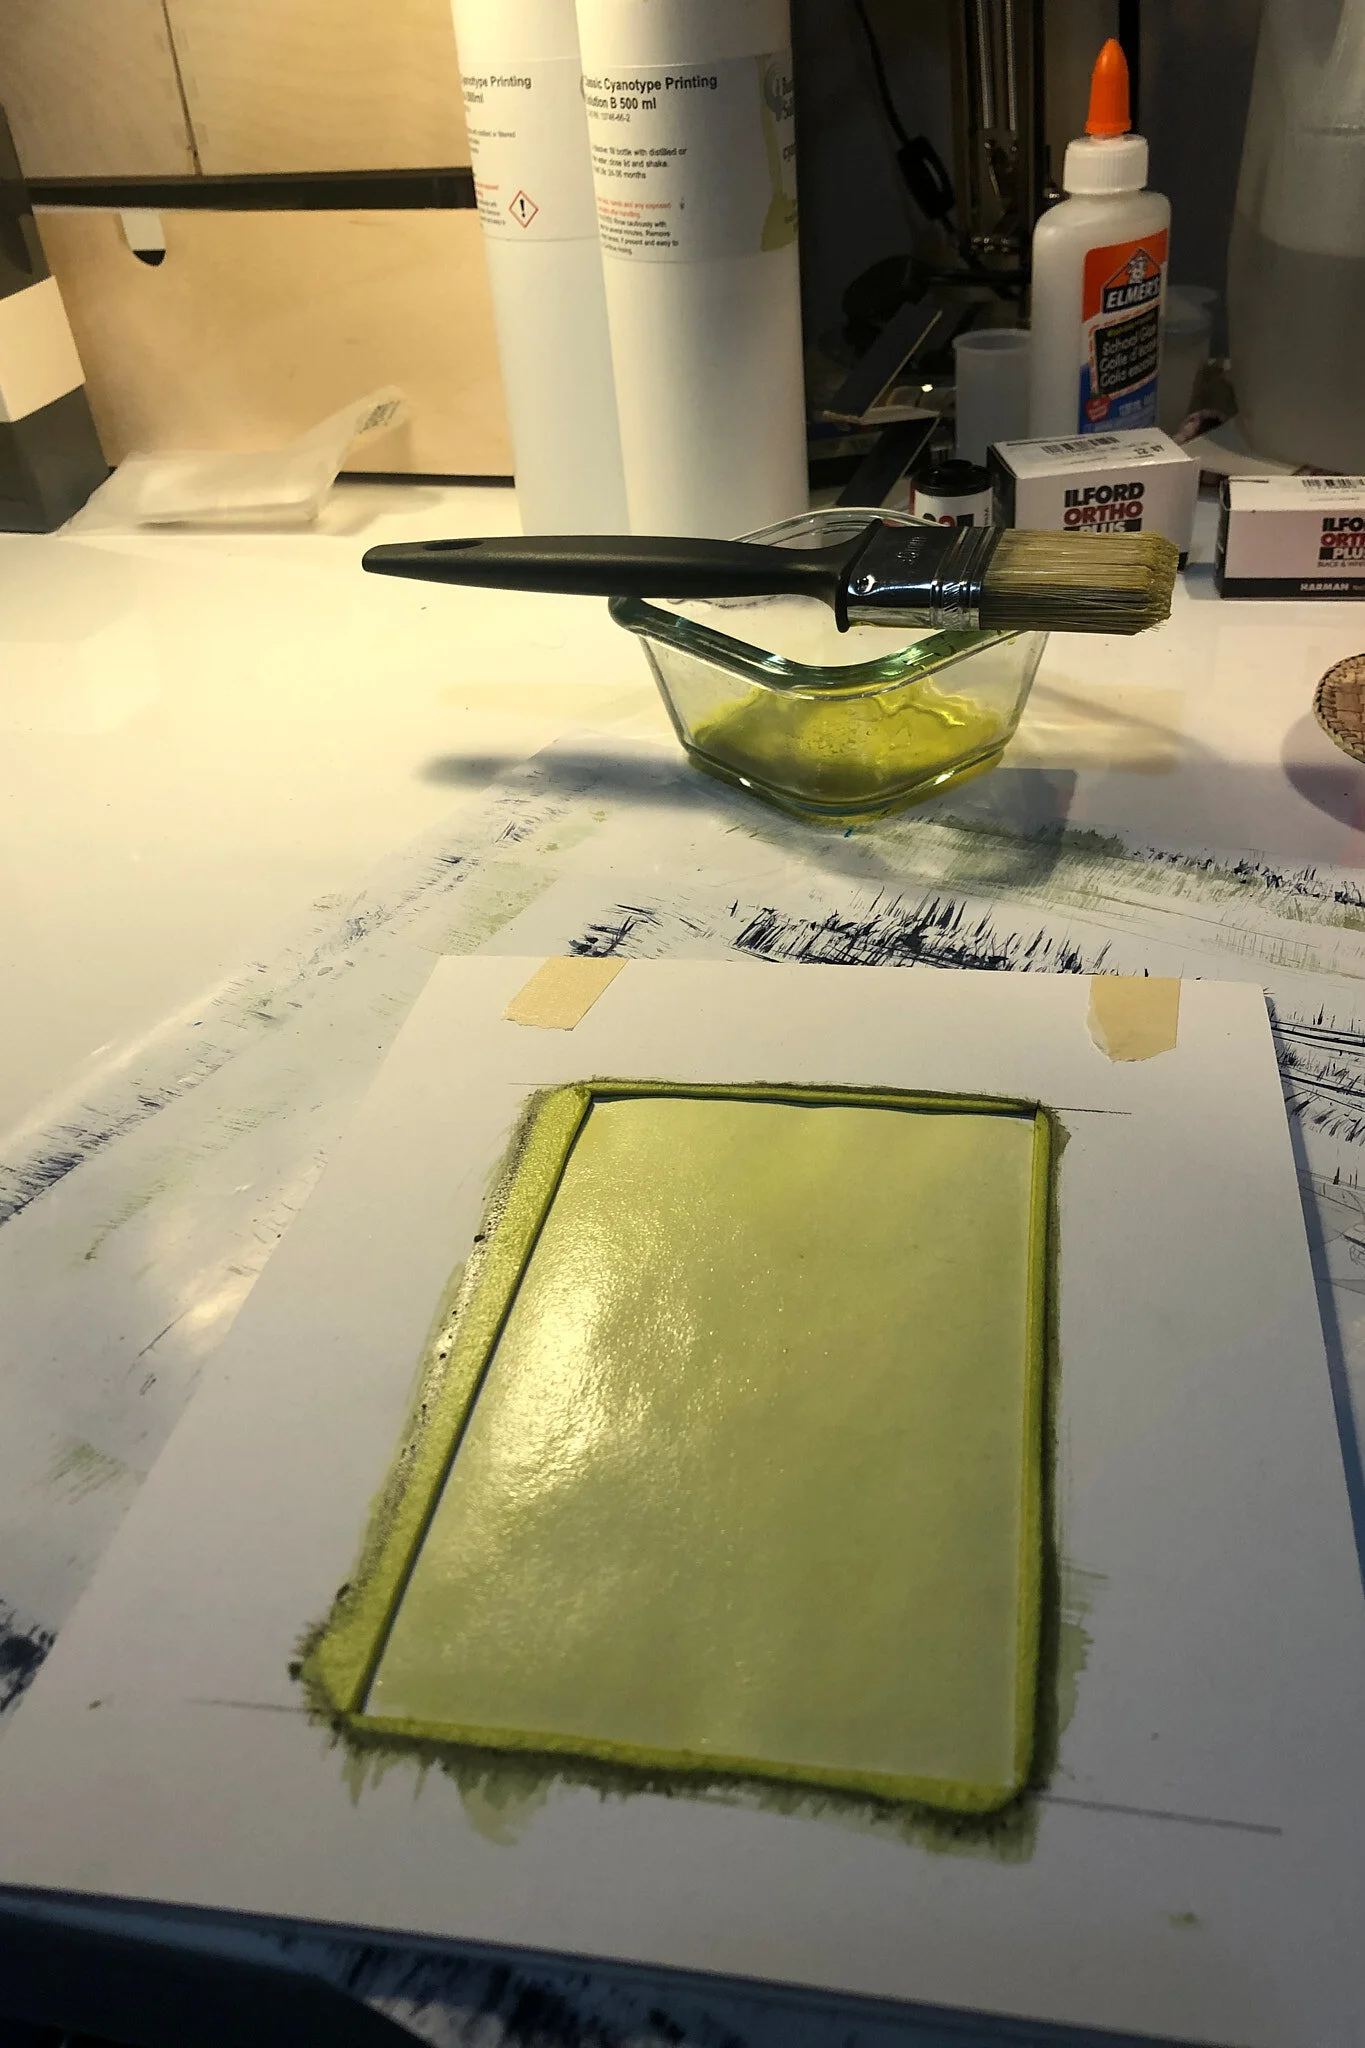
The first step is to mix equal amounts of Solution A and Solution B, (potassium ferricyanide and ferric ammonium citrate) I find about 25ml of each will produce about 20-24 8x10 sheets, or in this case about 70 - 4x6 mini-prints.
Once I've prepared the paper for prints and allowed them to dry in the dark for at least 24 hours to give the emulsion a chance to setup, things are ready to make some photographs!
If you haven't already, the next step is to make some negatives the same size as your desired final print size. Shooting on film is not required, it is my preferred medium, but you will get amazing photographs with whatever you shoot with, film or digital.
I shot the set of 12 cyanotype photographs included in the gallery below on 35mm Ilford Ortho Plus film on my much loved Nikon EM with a 35mm lens a couple of weeks ago then scanned the negatives and then created 4x6 negatives printed onto tracing paper on my printer. Once again, you can use photographs from your phone or a digital camera to make the negatives in your favourite photo editing application.
You will need a UV light source to expose your prints, the easiest and cheapest way is using the sun, I like to print at night, so that's not practical in my process, I have a lamp array setup that uses UV bulbs for reptiles I got at a local pet store, I'm generally pretty pleased with the results.
With my UV light array I get decent exposures in about 20 minutes, but there are many variables that could change time shorter or longer. Dense negatives, having the lights higher or lower above the print frame and many other variables that don't come to mind just now can impact printing times, expect to make some test prints to sort out your own printing times.
Once you have exposed your photograph, it's time to develop it. All you need is some water to wash away the yellow unused iron solution in water, lots of information says running water, I generally use a tray with gentle agitation, replacing the water every 10 - 4x6 prints or so. Using a tray with gentle agitation is important if printing on light paper.
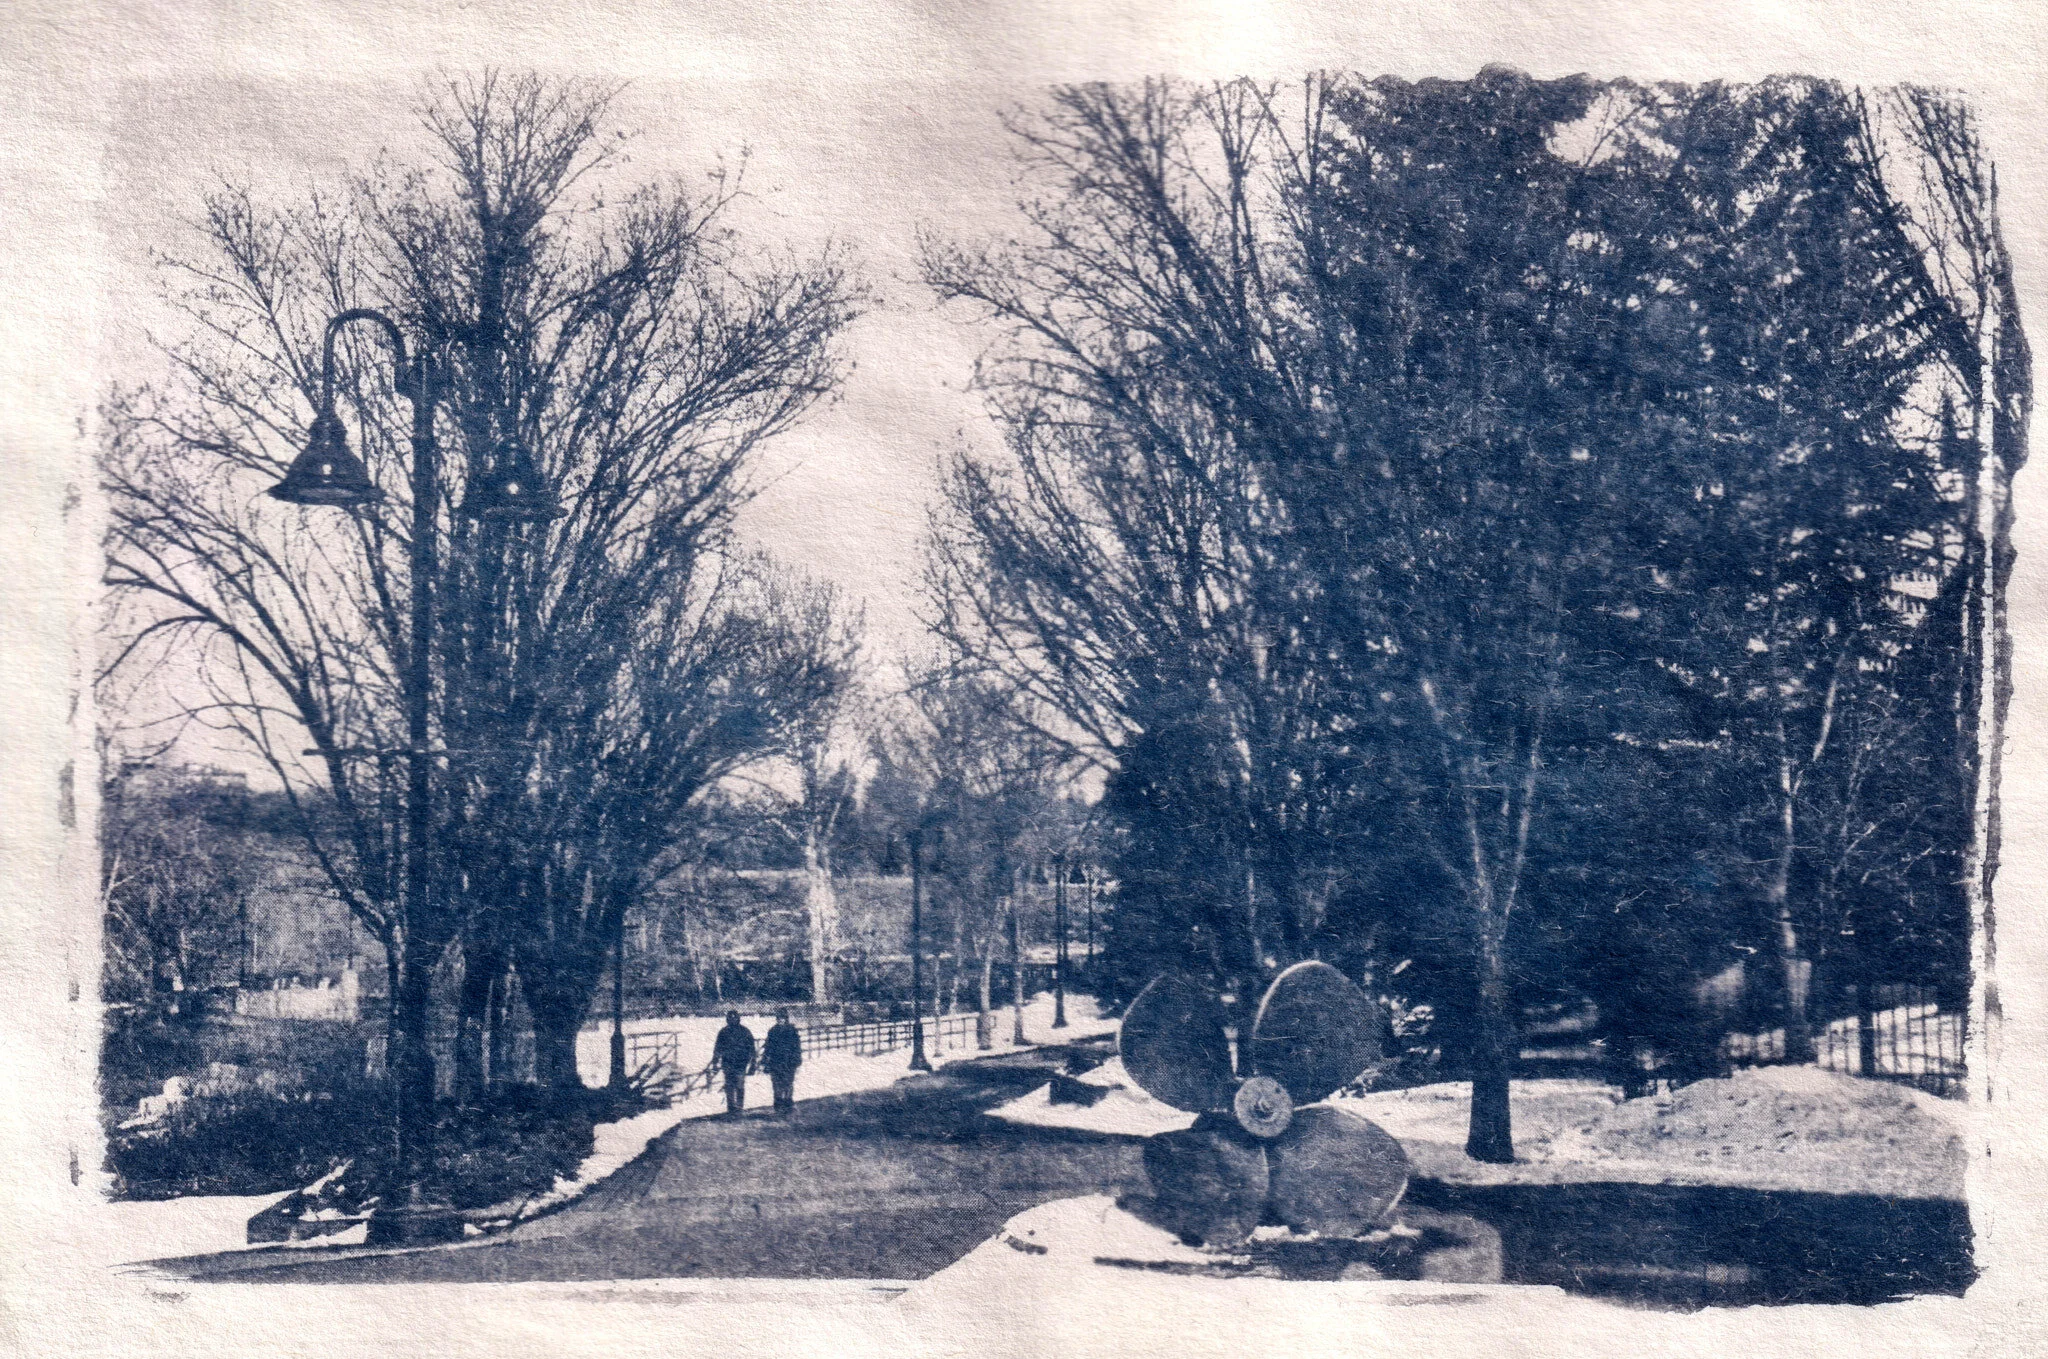
The Prussian blue color darkens upon drying and over the next several days, the effect can be accelerated by gently washing the print in a mild hydrogen peroxide solution. I use 25ml peroxide to 1L of water as a ratio to get maximum Prussian blue right away as I move directly to toning my prints from the wash phase. That's just my process, there is lots of information that suggests letting the prints dry first. Use what ever works best for you.
Toning changes the color of the iron in the print cyanotype. The change in color from toning will vary with the toning agent used. I use the cheapest instant coffee I can find, I like the look that coffee gives me. There are lots of other agents that work as toner, including tannic acid, oolong tea, orange pekoe tea, wine, and I'm told even cat urine will give you a look. I've never tried the last one, I'm not sure that's my thing.
Generally I tone my photographs using room temperature toner for 10-15mins followed by a final wash to get the look I want, again, there are a million different views on toning, this is what works for me, use what works for you if you want to tone your photographs! Leaving them blue is good too, it’s important to get the look you want, not necessarily what the internet tells you you should like.
This is my cyanotype process, as mentioned, your mileage will vary, but it's definitely a fun way to practice an historic photographic method. These photographs aren’t perfect, but that’s not the point, I will learn from these and be better next time. That’s what I like about photography, the opportunity to get better every time out.
Enjoy!
Dean.